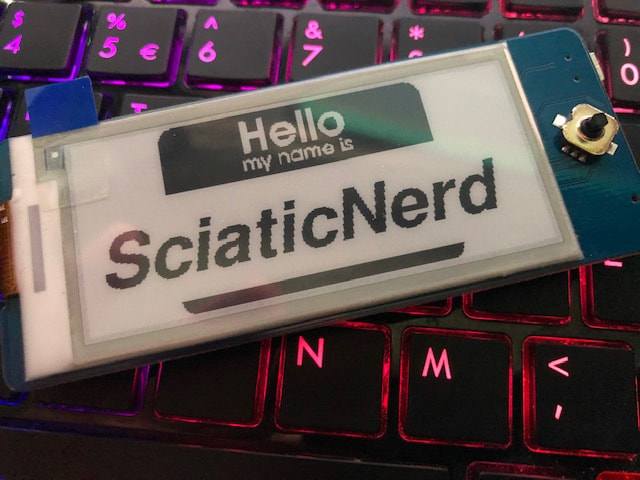
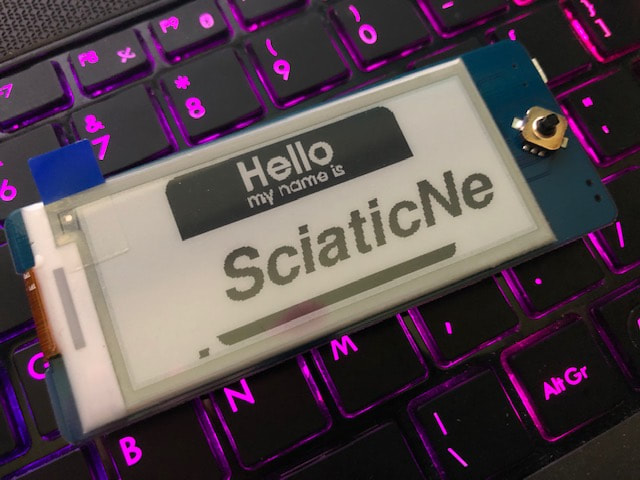
I like blinky objects. They fascinate me. I've enjoyed wearing them, but didn't know how to start tinkering with them. Not really... I bought a Badgy IoT from Tindie and just wanted to UPDATE my name... If you wanted to do the same on Windows, this is what worked for me:
The super short version
- Order a badgy IoT device from Tindie.com
- Prep the environment
- install arduino IDE
- add repo for ESP8266
- add required libraries
- install git
- clone badgy repo from github
- update hello.ino file to have desired name
- install arduino IDE
- Upload to Badgy IoT
- Using USB
- Or WiFi
- set up badgy for wifi
- compile and export binary
- Upload binart using web browser
- Profit!
More info about how this got done (more or less in linear order):
- Order a Badgy
- https://www.tindie.com/products/squarofumi/badgy-iot-badge/
- Wait impatiently for it to arrive
- Stare longingly at the box for a loong time, because you have no idea how to get started
- Oh and there's that free time thing... When the magical 'free time' is available and selected
- Plug the Badgy in using a handy micro-USB cable and then...
- Prep Environment
- Install git from https://git-scm.com/download/win
- Accept all the defaults if you aren't familiar with what it offers you
- I don't know better at this point and am just sharing what worked
- No reboot was required
- Install the Arduino IDE - either of the following works:
- Windows Store: https://www.microsoft.com/store/productId/9NBLGGH4RSD8
- or from the Arduino web site: https://www.arduino.cc/en/Main/Software (scroll down!)
- Install git from https://git-scm.com/download/win
- Launch the Arduino IDE and get it ready to use
- Set up support for the chips on the Badgy IoT using these links
- For the ESP8366 chip
- Install drivers for the CP201X UART for Windows
- After doing this, tell Arduino how to talk to the board you are going to use
- Tools > Board > "NodeMCU 1.0"
- If connecting by USB, select Tools > Port > should show in the list (are drivers are missing?
- Set up support for the chips on the Badgy IoT using these links
- Now it should be possible to compile examples from the Squaro Engineering github repo
- How do I make a local copy of the repo?
- Please know using the above linked method could save you an entire evening of frustration
- Got an error when I tried to compile
- Searched all over
- This took time... More than I'd like to admit
- Finally tried using 'git clone' and Would You Look At That! It WORKS!
- I'm new at this and made LOTS of mistakes. That's okay... Hopefully this page lets somebody else know that it's a BAD idea to copy and paste code from a github page when you don't know what you're doing.
- Create a local copy of the Badgy IoT git repo, which includes the examples
- launch a command line tool
- create a new folder in Documents or a place of your choosing
- navigate to the folder you just made and type the following command
- git clone https://github.com/sqfmi/badgy
- This creates a local copy of folders for badgy to the local computer
- It will create a new folder to work out of, which is also cool
- Switch to or launch the Arduino IDE
- File > Open the hello.ino file (had the arduino logo next to it)
- Changed the name from "badgy" to your chosen name.
- Those with newer models of the Badgy IoT can use the Arduino IDE to compile and it will push the update directly to the connected device.
- Need to create a file to upload if wanting/needing to use WiFI
- From inside the Ardunio IDE...
- Click on Sketch > Export compiled binary
- Not saying this is the 'right' way, just how I figured it out.
- Please share if there's a better way
- Go find the outputted file!
- C:\Users\YourAccountNameHere\AppData\Local\Temp\arduino_build_
- Look for the folder with the closest time to when you clicked Compile
- May have to change to 'Details' view in Explorer to see the time stamps
- The file called 'build.ino.bin' is what you're looking for
- Now that you've found the path to the file you're ready to install this to your Badgy IoT device!
- C:\Users\YourAccountNameHere\AppData\Local\Temp\arduino_build_
- Uploading to Badgy using WiFi
- If this is the first time the badgy is being set up, its WiFi will need to be configured
- follow the on screen prompts on the device after entering the 'upload' mode
- If WiFi has already been configured, the Badgy IoT will display a URL (see below)
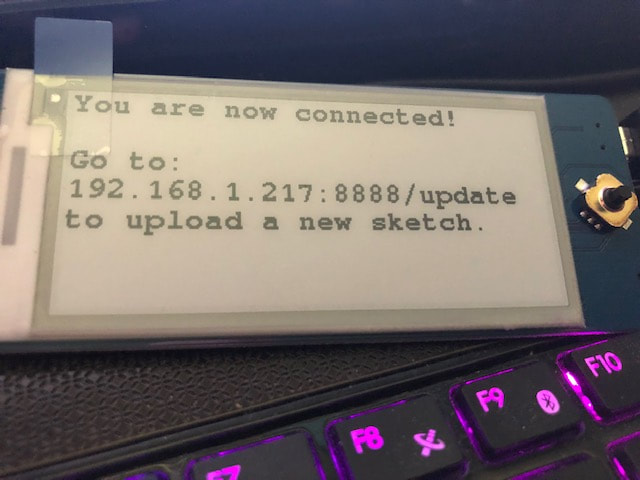
Badgy IoT will show a URL if WiFi is set up
Getting Badgy into Upload mode
- Connect the Badgy to power (battery or a USB cable connected to a computer or power source)
- Holding the Badgy so the screen is facing you, move the switch into the up position (OFF)
- Press and hold the joystick button like a button and move the switch down (ON)
- Let go of the button when the display changes to words about how to connect
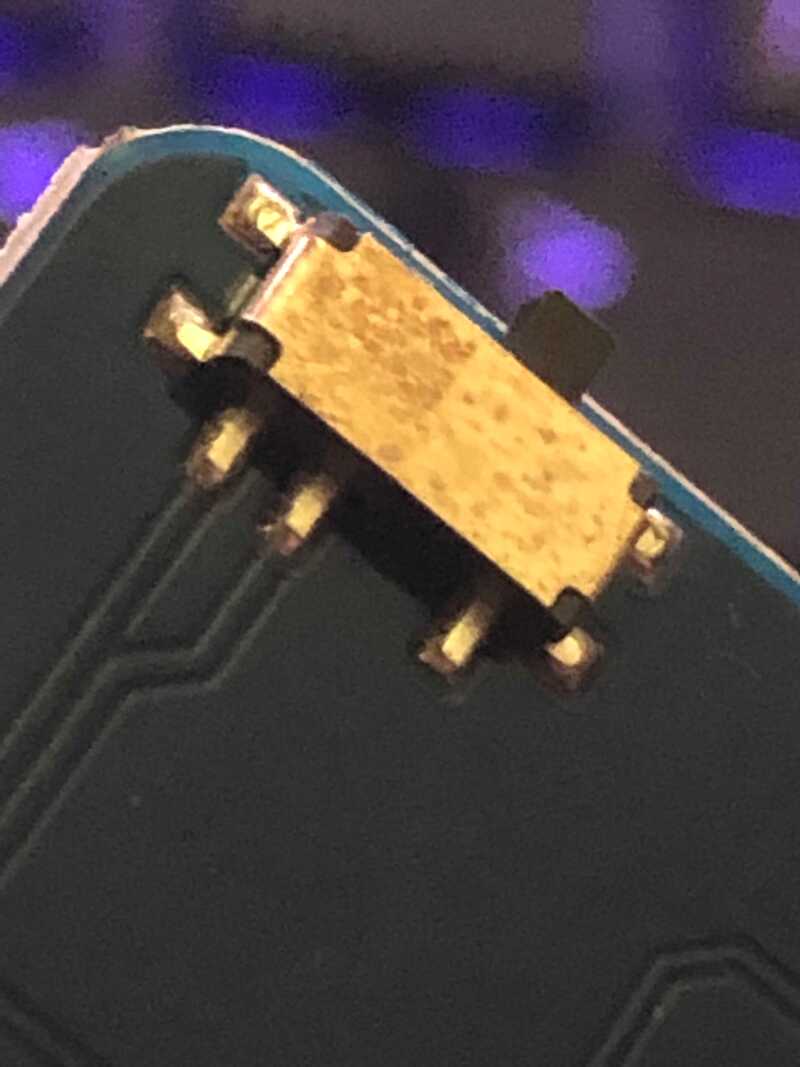 Up is OFF | 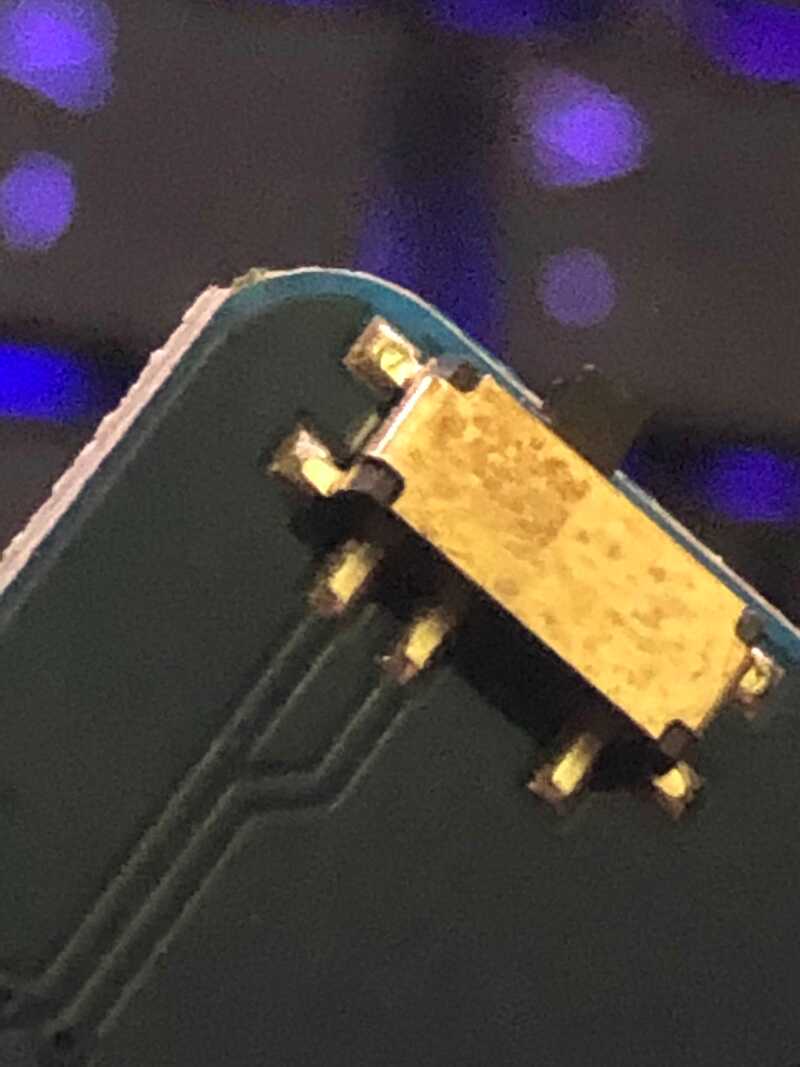 Down is ON |
If WiFi has already been configured, the Badgy IoT will display a URL
- Now open a web browser and navigate to the address displayed on the Badgy's screen.
- Click on "Choose File" on the web page portion of the screen
- Select the .bin file located earlier in the export binary step and click "Open"
- Click update and watch it go! (the page will be 'not found' after the device reboots)
- The Badgy will now update and reboot itself!
- PROFIT!
- Well, close... Need to adjust that left margin... THERE!
- Search for "void showHello" in hello.ino
- Find the line "display.setCursor(13,100);"
- Had to change the first number from 70 down to 13 to make it look centered.
- This is just the beginning of the adventure! Happy Tinkering!
So how do I get it to work when I'm not connected to a USB cable?
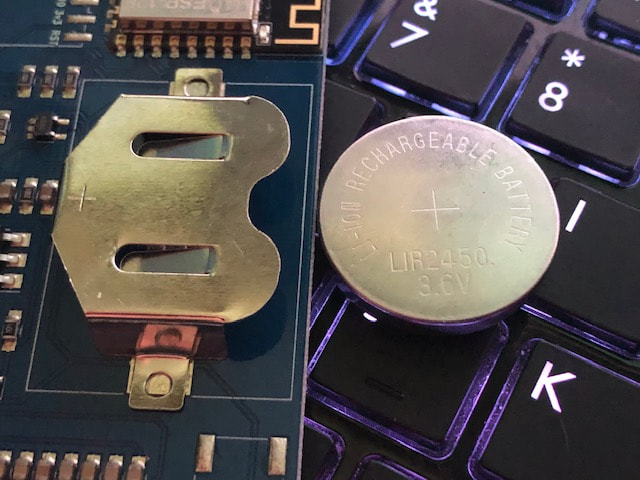
- The Badgy comes fitted with a holder for a LIR2450 coin cell battery
- I ordered a charger that works off USB, but choose what best suits you
- Make sure the battery is inserted matching the symbol on the little metal piece that holds it
(in other words - if the metal shows a plus, then make sure the matching shape is facing you when inserting the battery) - Flip the power switch to the UP position (OFF) to save power and leave the eInk display showing the "Hello my name is" message!
- Didn't work out? Don't Panic! Flash it back to the hello.bin file from \badgy\examples\hello to start over!
- Thanks for reading and hope you choose to start your own adventure in #Badgelife!
- Adapted from the following sources
- The 'compiling examples' info at: https://github.com/sqfmi/badgy
- also from the setup section in: https://github.com/sqfmi/badgy/tree/master/examples
 RSS Feed